Starting: 1st of Every Month
  +91 8409492687 |
  Contact@DevOpsSchool.com
Upgrade & Secure Your Future with DevOps, SRE, DevSecOps, MLOps!
We spend hours on Instagram and YouTube and waste money on coffee and fast food, but won’t spend 30 minutes a day learning skills to boost our careers.
Master in DevOps, SRE, DevSecOps & MLOps!
Learn from Guru Rajesh Kumar and double your salary in just one year.
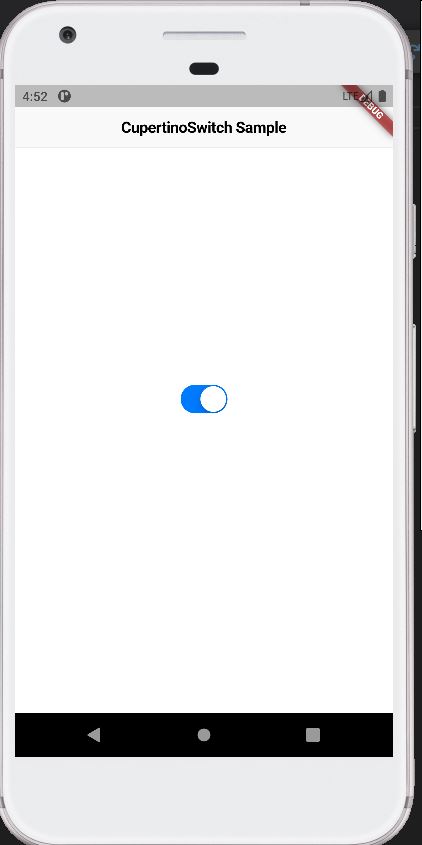
To use the CupertinoSwitch widget, you can import the cupertino package and simply instantiate it like any other widget:
import 'package:flutter/cupertino.dart';
import 'package:flutter/material.dart';

void main() {
  runApp(const MyApp());
}

class MyApp extends StatelessWidget {
  const MyApp({super.key});

  // This widget is the root of your application.
  @override
  Widget build(BuildContext context) {
    return const CupertinoApp(
      theme: CupertinoThemeData(brightness: Brightness.light),
      home: CupertinoSwitchExample(),
    );
  }
}

class CupertinoSwitchExample extends StatefulWidget {
  const CupertinoSwitchExample({super.key});

  @override
  State<CupertinoSwitchExample> createState() => _CupertinoSwitchExampleState();
}

class _CupertinoSwitchExampleState extends State<CupertinoSwitchExample> {
  bool switchValue = true;

  @override
  Widget build(BuildContext context) {
    return CupertinoPageScaffold(
      navigationBar: const CupertinoNavigationBar(
        middle: Text('CupertinoSwitch Sample'),
      ),
      child: Center(
        child: CupertinoSwitch(
          // This bool value toggles the switch.
          value: switchValue,
          activeColor: CupertinoColors.activeBlue,
          onChanged: (bool? value) {
            // This is called when the user toggles the switch.
            setState(() {
              switchValue = value ?? false;
            });
          },
        ),
      ),
    );
  }
}