Upgrade & Secure Your Future with DevOps, SRE, DevSecOps, MLOps!
We spend hours on Instagram and YouTube and waste money on coffee and fast food, but won’t spend 30 minutes a day learning skills to boost our careers.
Master in DevOps, SRE, DevSecOps & MLOps!
Learn from Guru Rajesh Kumar and double your salary in just one year.
Source:- steemit.com
I’ve got some more docker for you. This time I’ll show you how to set up a simple webserver in a docker container.
The Dockerfile
One really important thing I didn’t cover last time was the Dockerfile. Now, if you have made a really good docker image that you want to share with others, you could just give them the image. They would have to trust you though, because it might be hard to tell if you were doing something nefarious in the image.
A great solution to this is the Dockerfile. A Dockerfile is a list of repeatable steps that can be used to create an image, and docker can use this file to automatically build the image.
Dockerfile Example
#Version: 0.0.1

FROM ubuntu:16.04
MAINTAINER Neoxian
RUN apt-get update; apt-get install -y nginx
RUN echo 'Hello from the docker container!' \
    >/var/www/html/index.html

EXPOSE 80
Here is an example for you. We can go through it line by line.
You can use “#” to make a comment. That’s what the first line is.
“FROM”: this specifies an image to use as a starting base. This dockerfile will use ubuntu:16.04 to start with.
“MAINTAINER”: specifies the maintainer of the dockerfile. You put your name in here.
“RUN”: this will run a command in the new image to help set it up. We are running “apt-get” to update and then install the “nginx” webserver.
The second “RUN” command will create a simple web page to show.
“EXPOSE”: By default, for safety, a container does not have any exposed ports. If you want to have an open port, you need to specify it. Here we are opening port 80 for a webserver.
Building the image
First, create a new directory like “web”. Go into this directory and put your Dockerfile there.
In this directory, run this command
docker build -t="neoxian/webserver" .
Instead of “neoxian” you can use your own name.
Running this will probably take a few minutes…
When it’s done you can run docker images to see your new image.

Running the image
Now that you have your image, you want to run it. You can use this command:
docker run –name webserver -p 5555:80 neoxian/webserver nginx -g "daemon off;"
You should be familiar with most of this command, but let’s look at ‘-p’. By default, a container does not have any ports exposed, if you want to expose one or more, you must specify using ‘-p’. Here we are opening port 80 and then mapping it to “5555”. If we left out “5555”, then docker would choose a random port to assign 80 to. It does this so that multiple containers won’t be fighting for the same port. If you really want it to be on 80, then put “-p 80:80”.
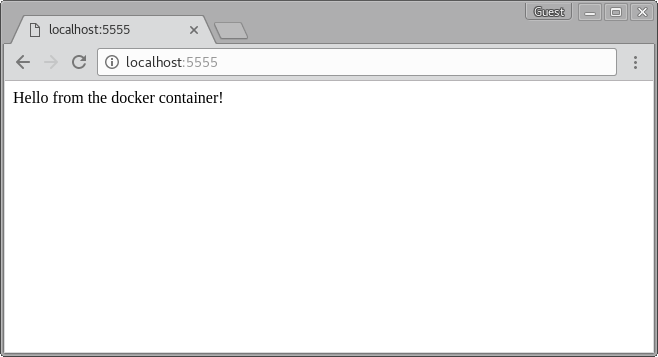
After running this, you can test it out by browsing to “localhost:5555”. You should see something like this:

Congratz! You are a web master!
In creating this post, I used the book “The Docker Book” written by James Turnbull as a reference.

 Starting: 1st of Every Month
  +91 8409492687 |
  Contact@DevOpsSchool.com